Asana for your personal calendar
- Chickster

- Jun 17, 2023
- 3 min read
Updated: Jun 18, 2023
By Kelly
Today, I went back to Asana, just for my personal calendar.
For years, I’ve been looking for a mobile friendly app where I could plug in times and dates that I need to do things without struggling with a clunky mobile experience. Trello has a Calendar Power-up, but it’s not the best, and I find both Outlook’s and iPhone’s calendar apps clunky.
So I decided to re-sign-up for Asana, a project management app I’ve tested for work in the past.
So if you want to chart your tasks or projects on a simple calendar — whether for work or home — I recommend the free version of Asana.
Using Asana’s calendar for tasks
To use the Calendar view on the online version of Asana, hit “My tasks” in the top left and hit the “Calendar” tab at the top.
Then just click on a date, type in a name and hit the “Enter” key to make a new task. (You can also hit the “+Create” button in the top left and select “Task.”) Once you’ve made the task, double-click it to customize. If it’s something you need to remember every year (like a birthday), you can set it to repeat. You can also set a color for the task’s category by hitting the “Customize” button in the top right. (My birthdays are blue, my chores are yellow and so on.) And that’s how to put your personal tasks into a calendar quickly on the online version of Asana.

And it’s even easier on the mobile app. You just select “My Tasks” in the bottom toolbar, select “Calendar” from the toggle at the top, hit the “New task” button in the bottom right, pick a due date, customize it and hit the “Create” button in the bottom right when done.


Using Asana for projects
If you’d like to track something more complicated than tasks in Asana — like projects with multiple steps — that’s pretty easy, too.
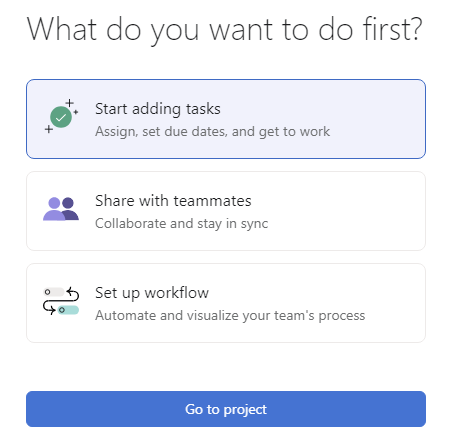
Online: You just click the “+Create” button in the top left and select “Project” instead of “Task.” Then you select “Blank” (unless you have a template or Excel spreadsheet you want to use) type in a name, make it private, choose your default view, hit the “Continue” button, “Start adding tasks,” and “Go to project.” Then you hit the “Add task” button, type it in and follow the same process for setting up tasks as above. And when you hit “My tasks,” your new task will show up on your “Calendar.”


Mobile: To make a new project on the mobile app, you select “Home” on the bottom toolbar, “Projects” at the top and hit the “New project” button. Then you follow the same process as above and end with the “Create” button.


Pro tip: If you want to get more advanced, you can make a project for each type of thing you want to track, like birthdays, since any tasks from projects you create will show up on your “My tasks” calendar, but it does involve more steps than above. However, it is an easier way to color-code the calendar by category, and you can create subtasks for birthday tasks like “buy gift” with a deadline of a week or two before, so you have enough time to mail presents or cards.
And it’s that simple. What about you, readers? Do you have a favorite app to organize your to-dos on a calendar?

Comments